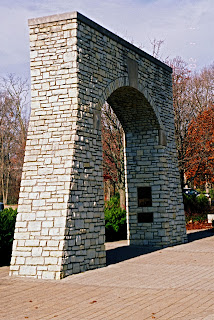
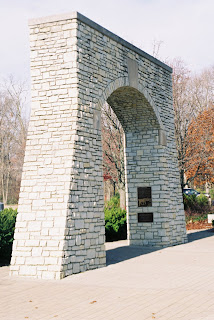
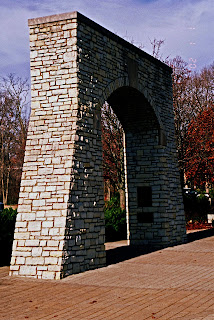
 I used a lot fewer layers in this one, and played with shadow/highlight/midtone contrast to get where I wanted. This is the sort of thing I'd do for a client, rather than an art show.
An Amateur Photo Blog, Featuring Various Pictures Of The Best Dog Ever, Plus Other Stuff.
Sunday, December 02, 2007
Here's something a little less crazy.
 I used a lot fewer layers in this one, and played with shadow/highlight/midtone contrast to get where I wanted. This is the sort of thing I'd do for a client, rather than an art show.
I can't seem to stay away from film
 Unfortunately, I don't own a really good film camera. As you can see, the one I used for this shot used center weighted metering, rendering shadow detail just fine, but blowing out everything else. Yuck. The lens is also not exceptionally sharp. Double yuck.
 So after I had my local Costco 1 Hour Photo develop, print, and scan me a Premium CD (8x12 inches, or 2400x3600 pixels. You youngsters just think 8.6 megapixels and move on), I put the image in Photoshop for some much needed loving. Here's the result, which I appear to have taken a bit far, but then, how far is too far when you're making art?
If you're wondering how to do this yourself, you can pick up a Scott Kelby book for the full scoop under "Fixing Overexposed Images", or just follow these simple steps in Photoshop Elements.
Open the image.
Drag background layer onto Create a New Layer Icon.
Change layer blend mode from Normal to Multiply.
Control-J adds new layers if you need more than one. This one has four extra.
If you need half a layer, highlight the top layer and reduce the opacity.
After doing the above, I switched to Quick Fix, bumped the shadows up 25%, knocked the highlights down 25%, increased mid tone contrast 25%, and sharpened it 25%.
I then saved it as a .jpg, which is very important. If you save it as a .psd, it will be about 109MB, vs 6.9MB.
Is it photography?
No, it's art.
Subscribe to:
Comments (Atom)